Making the choice to switch to solar energy is simple, but having a solar energy system installed doesn’t happen overnight. There is a process that involves a number of critical steps, which will ensure that you get the solar energy system that suits your needs both financially and electrically. Go Solar Energy understands the whole process, and will explain each step in order to make sure you receive the right system, and the most savings. Our agent will walk you through each of the 6 following steps, so that you know what it takes to make the switch to renewable energy.
1. Roof & Site Assessment
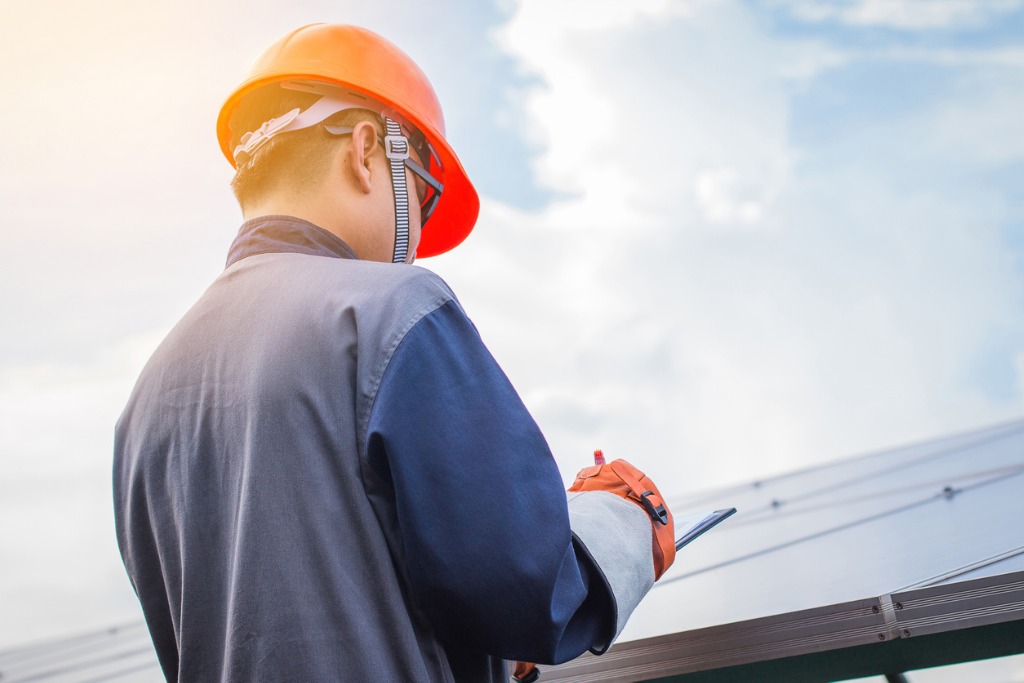
The first step in the solar installation process is assessing the site that is going to be powered by the system and the roof of the building where the panels are going to be installed. A technician or licensed electrician will need to make sure that your wiring is up to code, and that your roof can support the weight of solar panels. Your roof will also be measured and evaluated for how much shade and sunlight it typically gets. This is so that the technician can calculate how much sunlight your solar system will be able to capture, and can then customize your solar energy system to your needs.
2. Permits
The next step in the process is obtaining the correct permits, and filling out any necessary forms. Having solar panels installed does involve a lot of paperwork, but don’t worry: your installer will handle the majority of it. They will deal with the entire permitting process for you, and make sure that your system meets the requirements for your specific area. One of our agents will go over any other paperwork that needs to be filled out with you, and will also help you apply for any state and federal solar incentives, so that you can save as much money as possible.
3. Ordering/Buying Equipment
After your paperwork is done and your permits are approved, the next step is to buy the solar energy system equipment, which includes the inverters and solar panels. Go Solar Energy will find the best manufacturer, panels, and deals in your area. We work with hundreds of solar companies around the country and compare the durability, efficiency, and price of all systems before recommending a system to you.
4. Installing Solar Panels
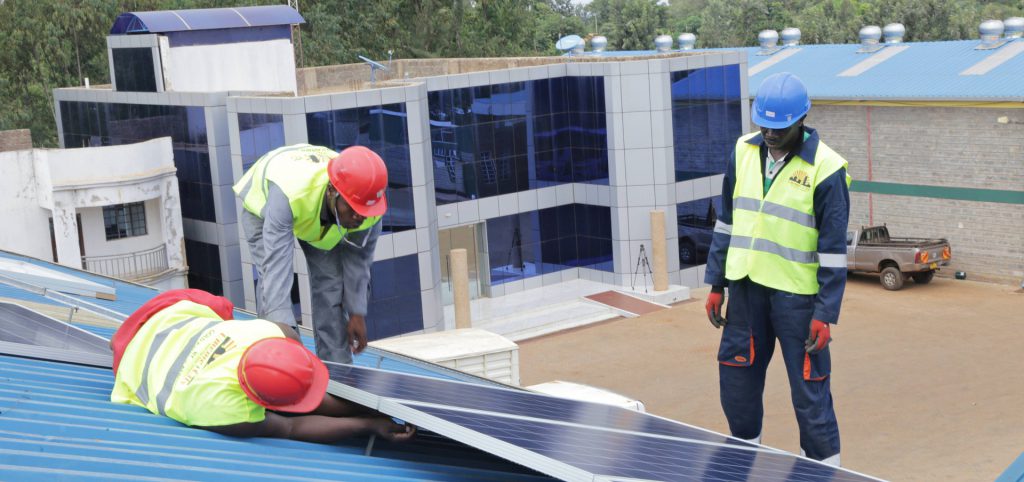
Once your solar power system is ready to be installed, your installer will prep your roof and make sure the shingles are properly attached, then put in electrical wiring to connect to each panel. Once wiring is complete, they will install racking to support your panels, then the panels will be attached. Finally, the inverter is connected to the panels, which will convert the Direct Current (DC) energy into the Alternating Current (AC) energy that will be used by your home or business. You can also choose to add a power meter for net metering during the installation process. Installation can take anywhere from 1 to 3 days to complete, depending on the size of the system.
5. Final Inspection
Once your solar power system is completely installed, someone from your town planning and zoning commission, as well as an electric company representative, will come to your house to inspect the system. As long as everything meets regulations, then you will receive approval to begin powering your home or business with solar energy.
6. Flipping The Switch
After getting the go-ahead, your solar power system will be connected to the grid, and the technician will flip the switch so you can start generating your own renewable energy!
To get a personalized, instant estimate for a solar power system in your area, come to Go Solar Energy – we can provide you one within minutes. To compare quotes and get the best deal on a solar power system, enter your zip code on our homepage, or to speak directly to one of our agents call (888) 290-3112.
Leave a Reply